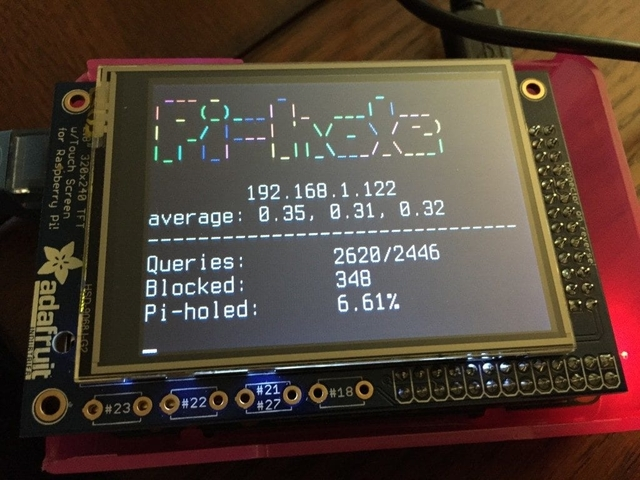
Pi-hole: DNS, Ad blocker and more!
Pi-hole is a Linux network-level advertisement and Internet tracker blocking application which acts as a DNS sinkhole, intended for use on a private network. It is designed for use on embedded devices with network capability, such as the Raspberry Pi, but it can be used on other machines running Linux and cloud implementations. Wikipedia
Personal Thoughts
Probably everyone wants to avoid ISPs forwarding their traffic to different DNS providers, block those annoying Ads, especially on YouTube (I am sorry content makers, I used to support everyone until YouTube made 30 minutes ads) and maybe have an easy way to control your LAN traffic for your kids. You can be evil and block Facebook for some quality talk ;)
Basically, you can be faster online, be more secure and be in control of your network. Also, you can find a usage for those old laptops thrown away in your house. Pi-hole can run in really low spec computers, which is awesome.
#1: Get your machine ready
Install a VM, get that old laptop from the bookshelf, buy a server… It is up to you. The most important part is that you need to install something compatible with Pi-hole. For the purpose of this tutorial, I will use Ubuntu Server on Virtual Box.
- Create a new VM. I will stick with default settings, even for RAM.
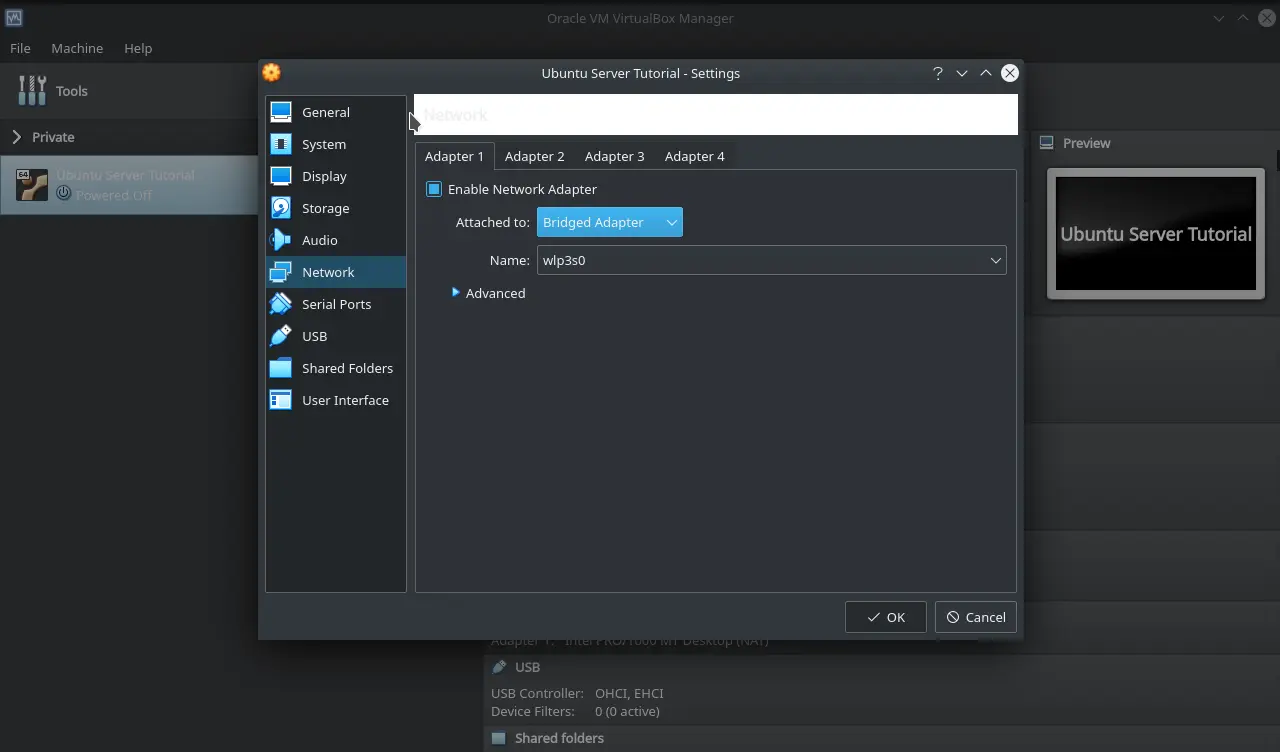
- Change your network to Bridge Adapter and choose your interface, in my case, I am using wifi so it will be wlp3s0.
- Don’t forget to tell your VM which ISO you want to boot.
#2: Install your hosting OS
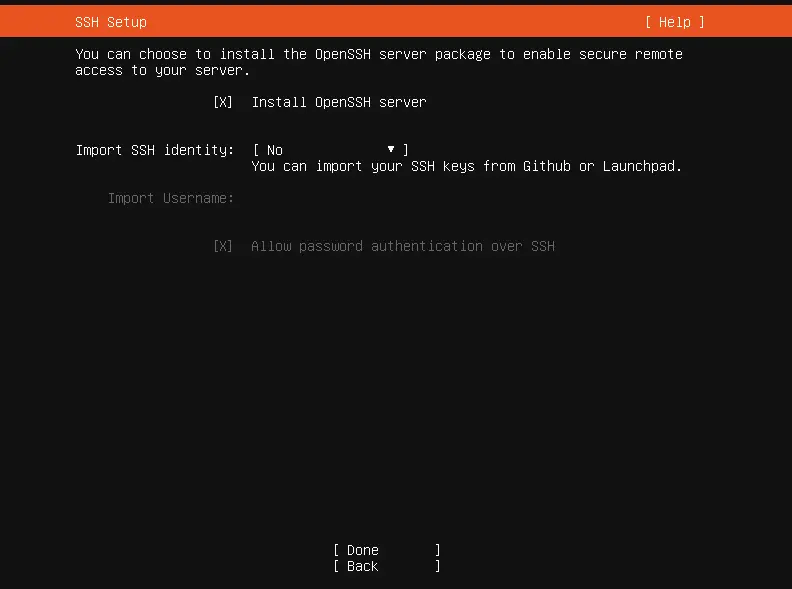
The same concept will be applied here, I will stick with the default settings. The main difference is the OpenSSH checkbox, which I want to install.
- Just hit ‘done’ for every step if you want a quick installation. If you want different settings, choose whatever you like.
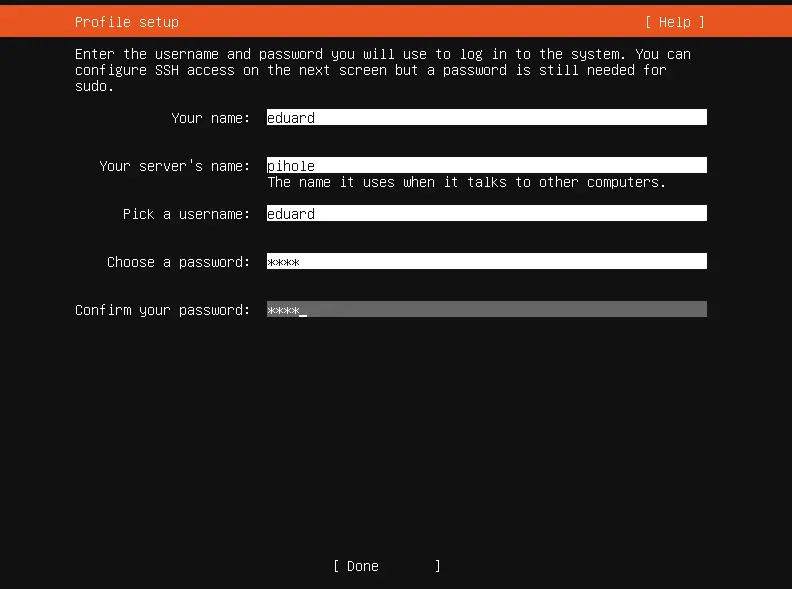
- When you reach the Profile Setup window, fill all the forms with your desired credentials.
- Check the OpenSSH box if you want server administration via SSH.
#3: Install Pi-hole
Now that you have your machine ready, it is time to install Pi-hole. I will choose the One-Step Automated Install.
- Use this command:
curl -sSL https://install.pi-hole.net | bash - Then I will choose Cloud Flare as DNS provider and for the rest, I will go with defaults.
- When the installation is completed, check if the web interface is visible. (Connect to your PiHole Server IP)
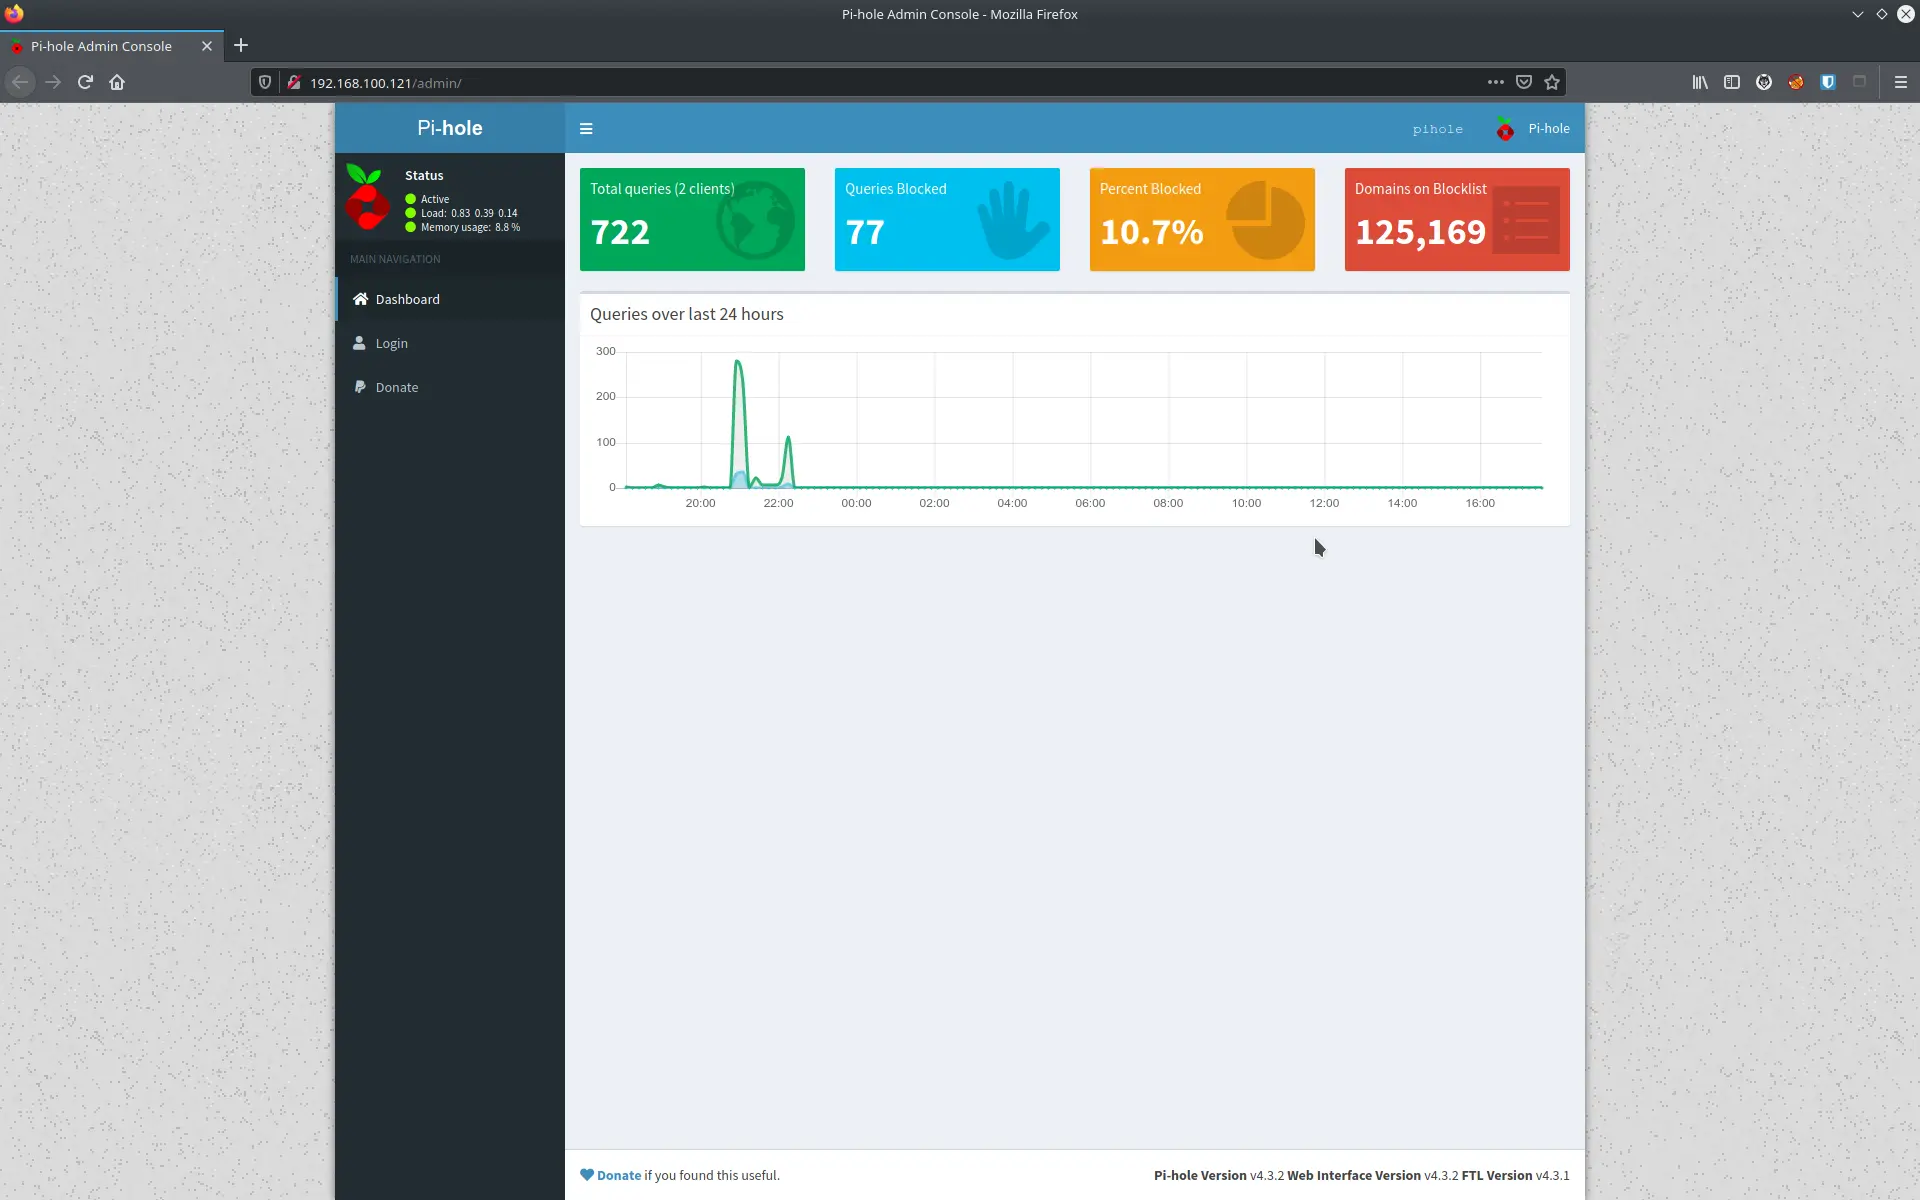
#4: Change your DNS settings
If STEP #3 was completed successfully you need one more thing to do. You have to change your computer’s DNS to PiHole Server IP.
This step is different for every OS. Right now I am using Arch Linux and I just have to change /etc/resolv.conf to PiHole Server IP. I do have other options available too.
So you just have to Google how to change your OS DNS settings and that’s it, you are done! You can enjoy your personal managed Ad Blocker.